Hey guys! This post is dedicated to frames. I tried some new techniques today that (thankfully) worked in my favor :) Frames are probably my favorite things to decorate because they're easy, and super cheap to make.
My go-to supplies: Mod Podge, sponges/paint brushes, hot glue gun, craft paper (preferably the thinner kind, not the card stock thickness), antique-ing ink, exacto knife, scissors, and paint (not shown).
My go-to supplies: Mod Podge, sponges/paint brushes, hot glue gun, craft paper (preferably the thinner kind, not the card stock thickness), antique-ing ink, exacto knife, scissors, and paint (not shown).

So, gather your supplies and let's get started :) There are two frames, different styles, so we will go over the easier one first.
1. Get your frame and remove the glass. Turn the frame upside down, onto the back of your craft paper. Trace the outline of the frame, as well as the inside. Then, use your Exacto knife to cut an X in the center, so that you may cut it easier.

2. Cut out the outlined paper. You will then use a emery board (yes -- a nail file! -- thanks Brooke for the pointer :)) to smooth out the edges, giving it a softer, blended look.

3. Using your sponge/paint brush, apply Mod Podge to the front side of the frame. I use my finders to make sure the craft paper makes it into the grooves of the frame. For beginners, I recommend trying frames with the LEAST amount of ridges or grooves.


4. Let the Mod Podge dry, and apply another coat to the top of the craft paper. It will look milky, but it will dry clear. Once that dries, I applied a coat of shellac for added shine and protection, however it's not necessary. Once the shellac dries, apply any embellishments you like. I love flowers and buttons, which both were used here. I use a hot glue gun to apply any extras.
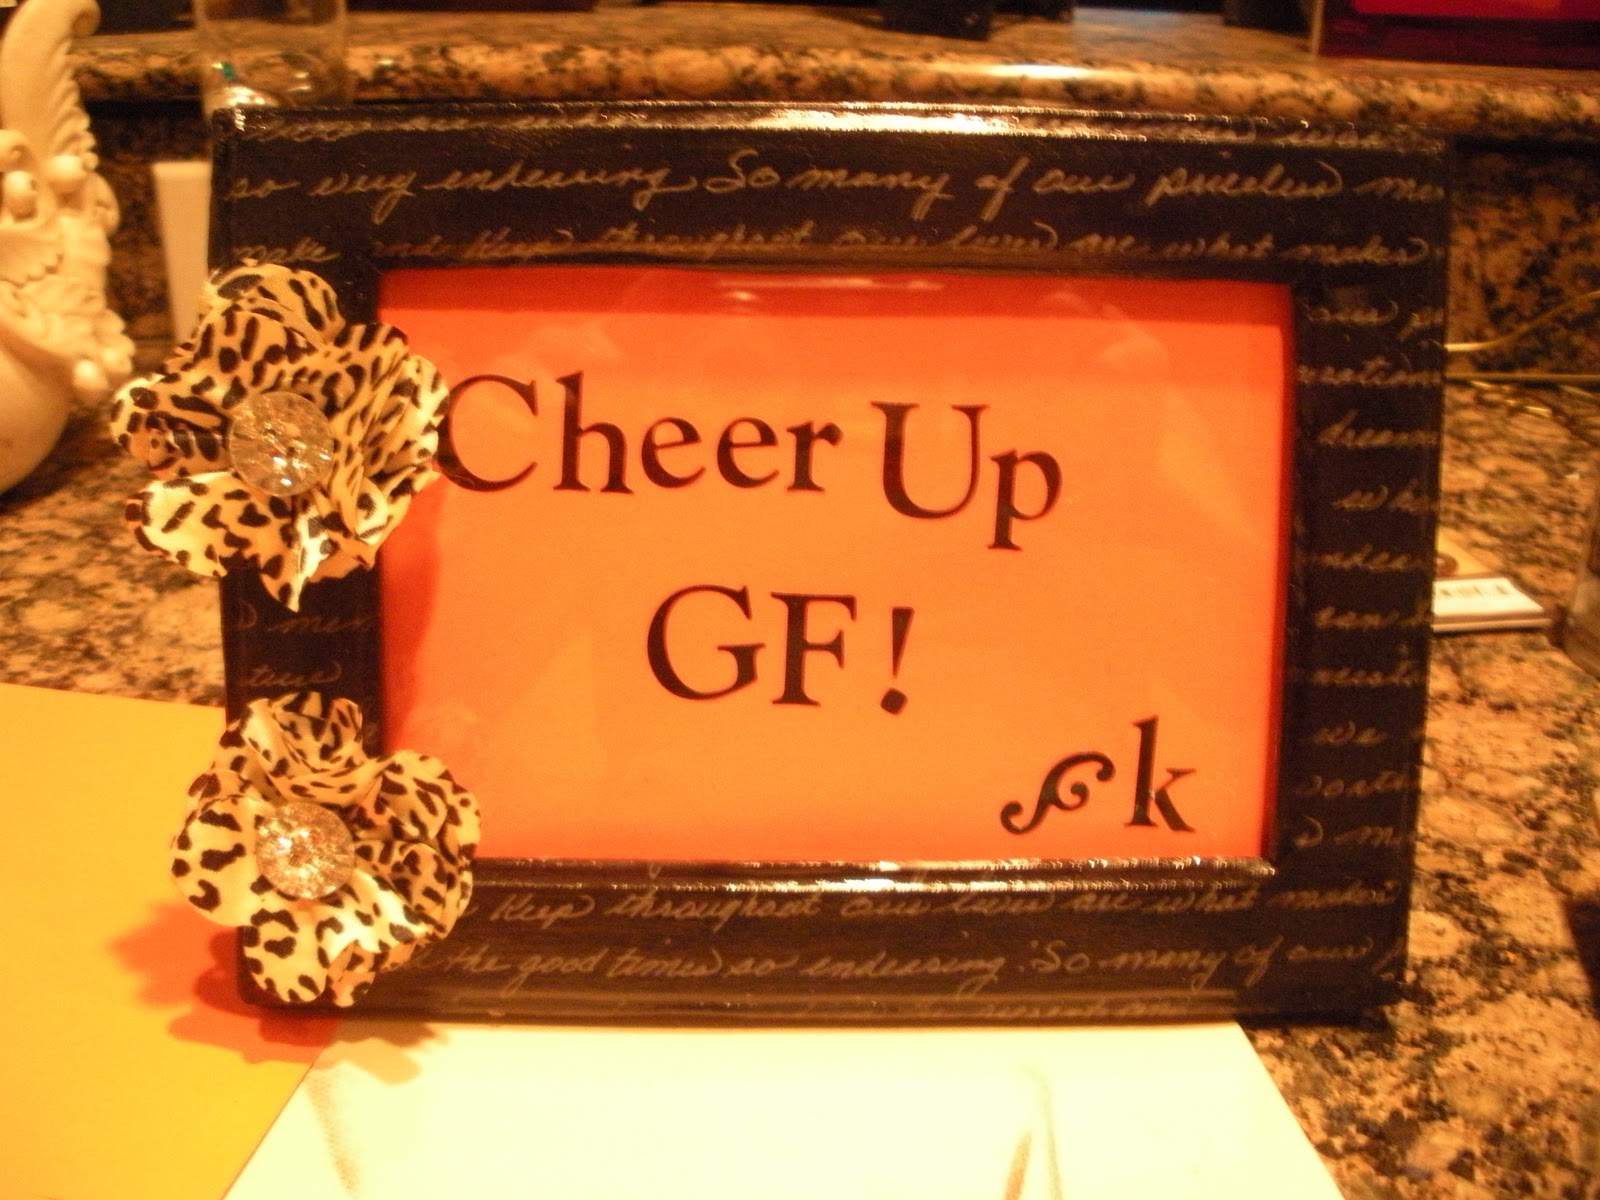
*Note: When giving frames as a gift, if you don't want to put a picture in it, be sure to jazz it up by using colorful craft paper or something. It really adds a lot.
Another frame idea:
1. Fancy up your matted frames by covering it with craft paper. Use the same technique (using the Exacto knife to cut out the center, wrap it around and secure with Mod Podge). I had to use paper clips to help mine stick, as I used the thicker craft paper.
1. Fancy up your matted frames by covering it with craft paper. Use the same technique (using the Exacto knife to cut out the center, wrap it around and secure with Mod Podge). I had to use paper clips to help mine stick, as I used the thicker craft paper.


2. Next -- painting the frame. I would suggest sanding the frame first to avoid painting it a million times!! I painted about 5-6 layers, letting them dry in between. Then, using sand paper, lightly sand areas to make the frame look weathered. Again, you guys have the option of applying shellac to protect the frame.

3. I decided to use distressing ink to make the craft paper part look a bit older. This was super easy. Just rubbed it with my fingers until I was satisfied. Again, I added some craft paper until I can find a picture to match the greatness that is the frame! My dad thinks he's a good candidate :)

Until next time - stay crafty!
-Kat D.
-Kat D.
No comments:
Post a Comment